DISASSEMBLE PROCEDURE ( Part-1)
* Remove the seven outer case screws on the left (2), bottom (3), and right (2) side of the camera.
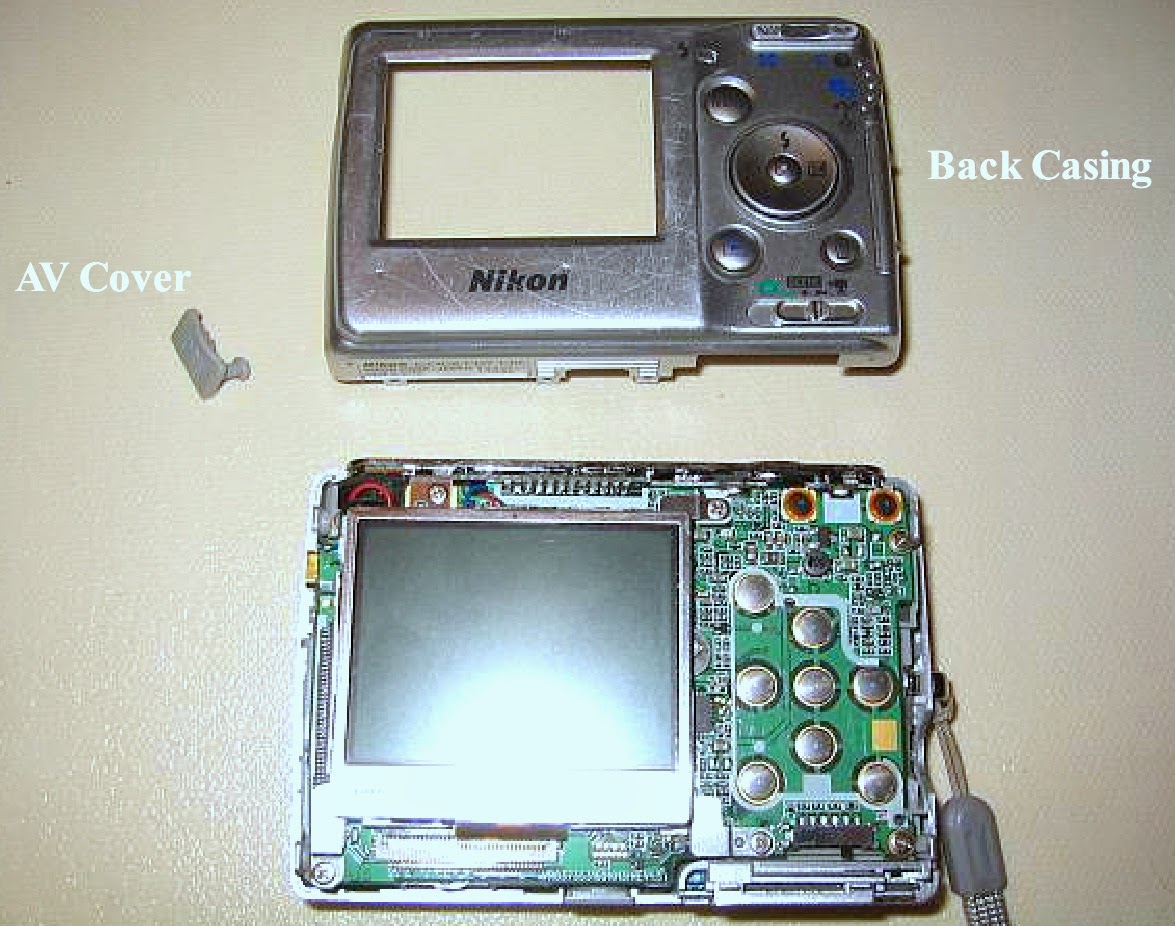
* Pry open the case from its bottom left side. There will be a little resistance. Just use a butter knife at the bottom left (screen side) edge to pry it open. Note how/where the AV cover attaches to the case.* Remove the single small screw on the silver lanyard connector.
* Loosen the center electronics assembly from the front case by prying with a small screwdriver along the gray plastic on the left side of the camera.
* Remove the center electronics assembly from the front case by lifting it up and out from its bottom.
Note the front face with the battery compartment, lens assembly (note that mine is crooked/damaged), auto-focus illuminator, and flash assembly. Especially take note of the large green flash capacitor. DO NOT short the terminals of the capacitor to discharge it as you will damage it. Instead recommend slowly draining the capacitor of electricity by applying a voltmeter or some other resistive load until its voltage is discharged.
Now examine the top face of the assembly. Note the tape, and the three exposed screws. Remove and temporarily store these three screws.
* Peel back the center portion of the tape. You may have to tear a portion of the tape. You'll see two electrical contact points labeled C4+ and C4-. Use these to discharge the capacitor. You'll also notice a single screw that attaches the flash bulb to the camera. Leave this screw alone as it is unrelated to the disassembly of the camera. Reattach the tape.
Contd ......
.jpg)


